
Setup Guide
Watch out!
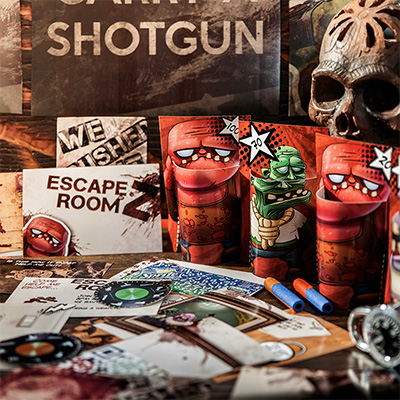
Zombies are everywhere!
And they’re hungry …
hungry for …
PIZZA!
Trapped in an apartment on the 28th floor, can you rescue the pizza, get the gun, unlock the door, and defeat the zombies?
What will such a feat of bravery and heroism take? Solving lots and lots of interesting, fun puzzles, of course!
Welcome to Escape Room Z, an hour-long puzzling adventure for you and your crew.
You're the host
As the host of this event, you will prepare everything so that your crew is ready to defeat the zombies and win the day. Keep scrolling down this page for all the setup instructions. Once the game is ready, join your friends and play!
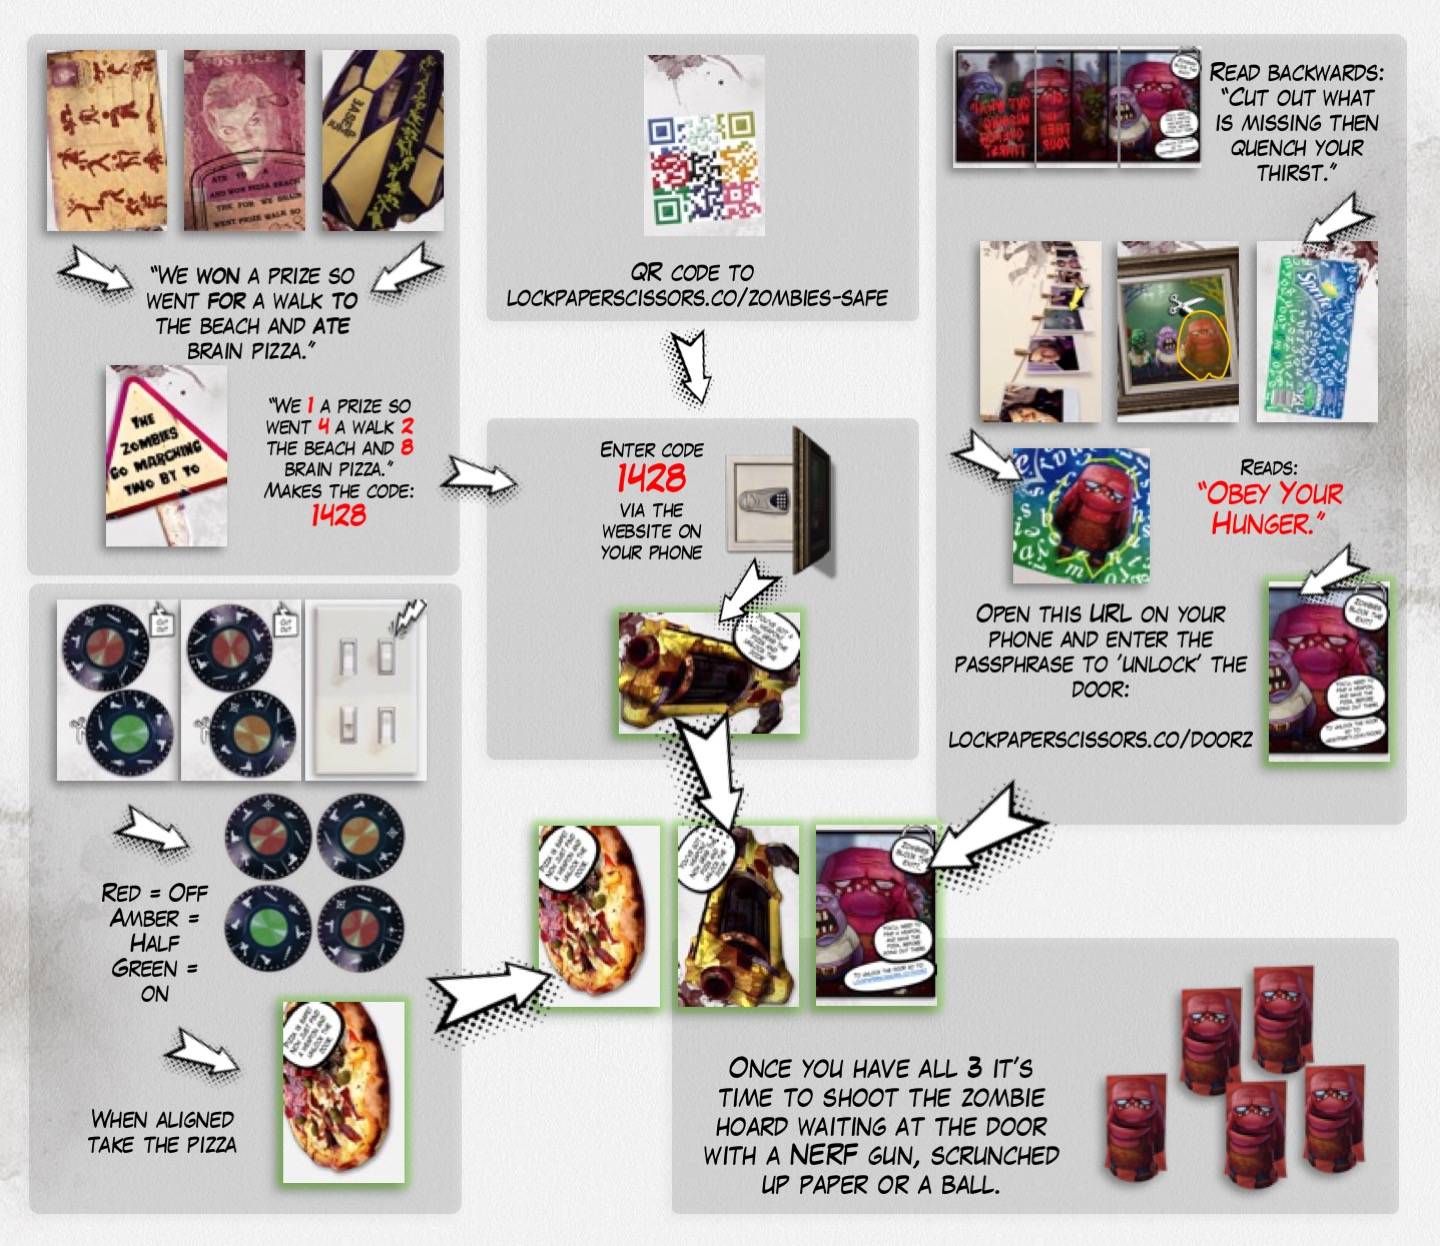
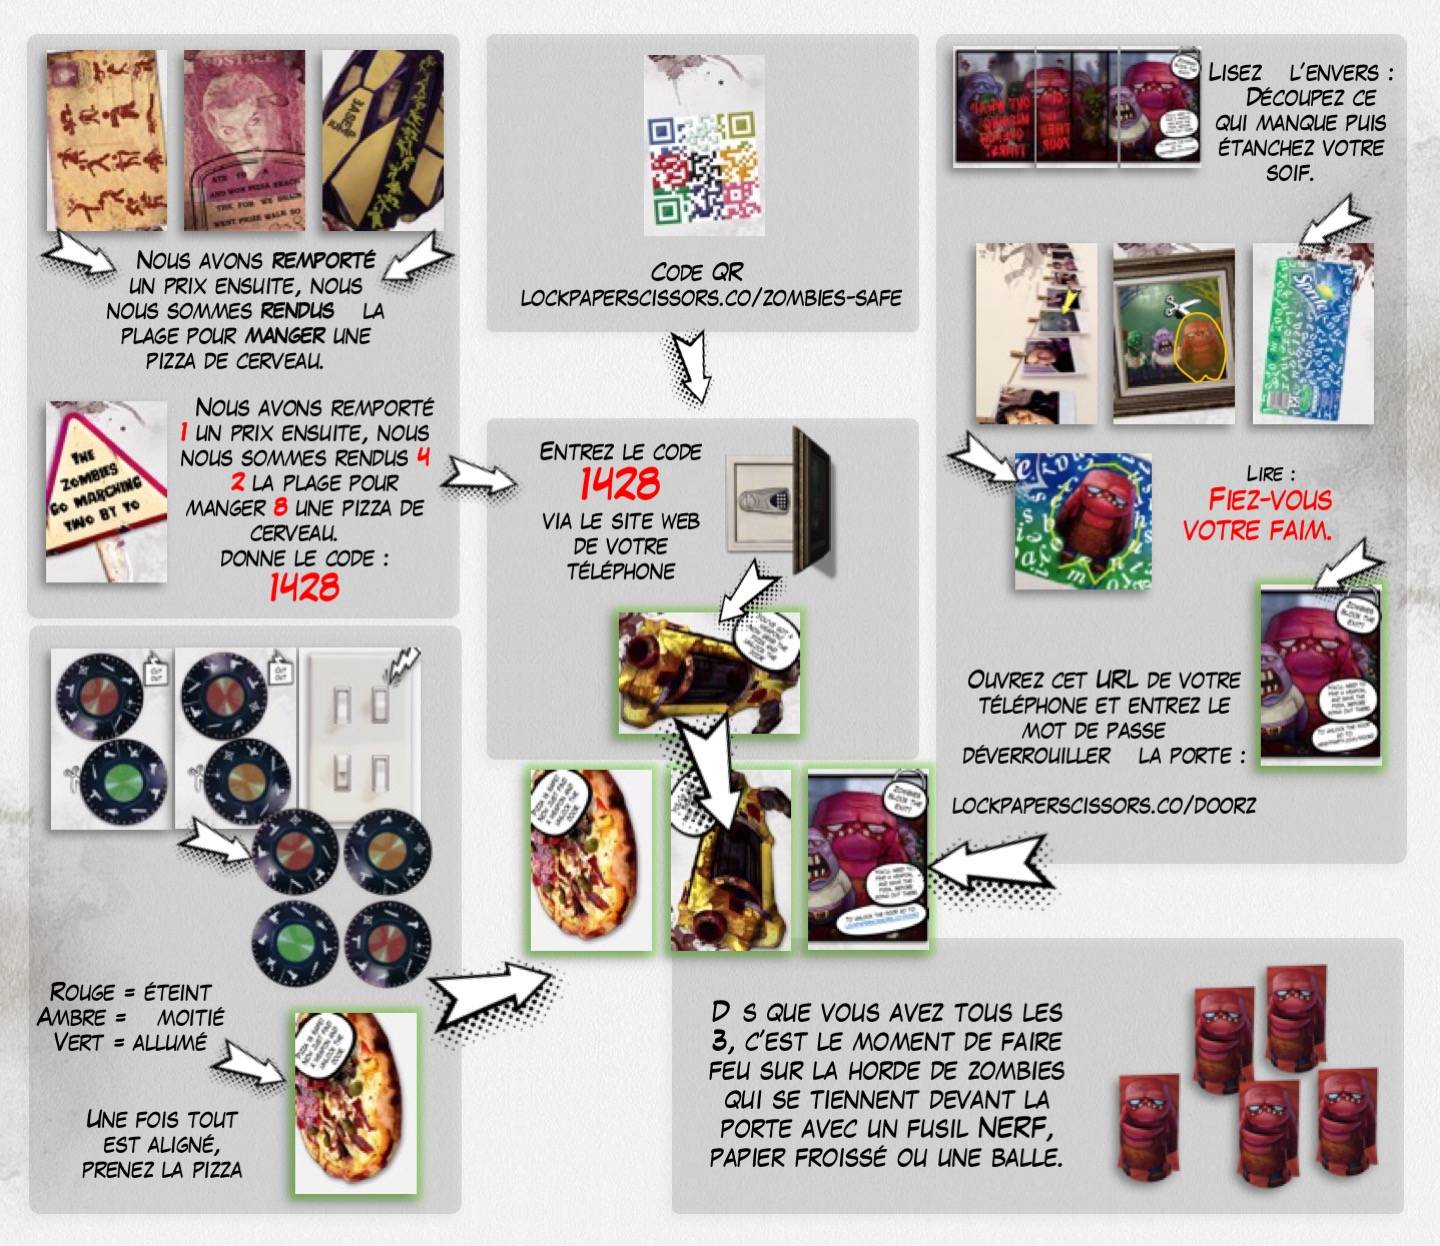
Note: If you won’t be playing the game yourself, follow the same setup instructions but also use the bonus process map (contains spoilers!).
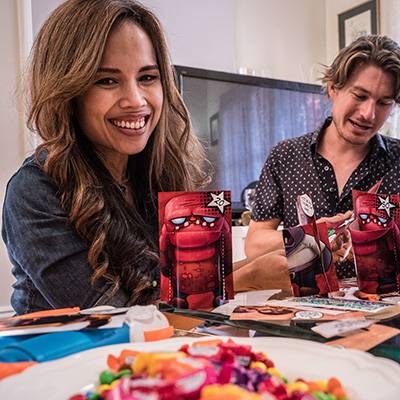
Summary of Game Setup

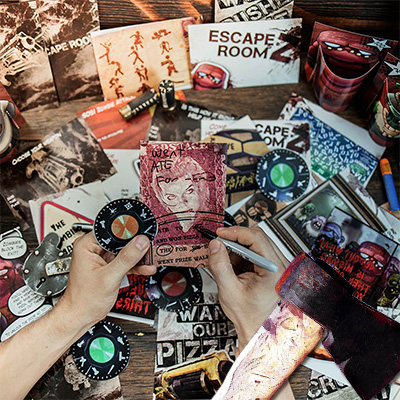
Download and unzip the game zip file. Inside you’ll find the game itself, along with editable posters, invites, and designers kit for customizing.
From here it's super simple to get the game ready to play:
- Customize your game (optional)
- Print the DIY Escape Kit
- Prep the clue cards
- Get the escape party started by opening the Survival Guide
- Win the game by finding items/solving puzzles/defeating zombies!
Customize The Escape Game (Optional)
Need inspiration? Check out how this teacher modified the Lost Mummy and created a thrilling new escape room game!
If you plan to play the base game without customization, continue to Print the DIY Escape Kit.
However, if you enjoy creating custom puzzles, you can easily edit the game using the Builder’s Kit included in the download. It contains the editable PowerPoint file and all creative assets:
- Open the PowerPoint
- Customize whatever you want using the included artwork or your own.
- Mix and match elements or combine with real-world props, such as padlocks.
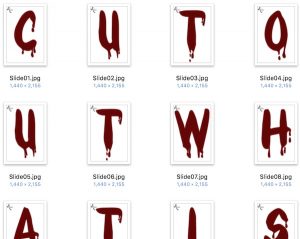
- Export the PowerPoint slides as photos ready for printing. The template ensures they’ll be perfectly sized and look great!
How to print the DIY escape kit.
In the game download, choose your print option:
Print as 4x6 Photos:
Print the photos at any office store or online via (Amazon Photo Print). To keep the gritty look and feel, choose matte/satin rather than gloss.
Or, Print at Home:
Open the PDF file Print at Home Version.pdf and print the escape kit on standard A4 paper.
Escape Room Z also includes optional props to make the experience even more immersive. Print any props you’d like from the Props folder. None of these are required to play the game, but if you want to go the extra mile, it’s totally worth it!
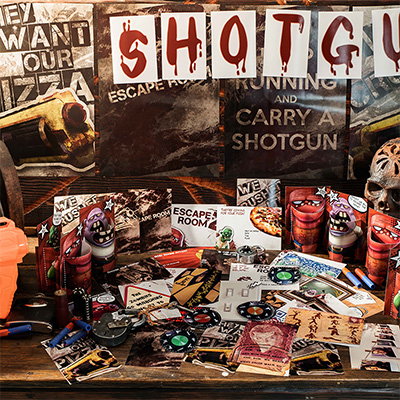
Prep the clue cards
Although you can play Escape Room Z on a table, like a board game, it’s much more fun to hide the puzzles around the room like a real escape game. For a truly immersive experience set it up in an apartment building living room, since this is where the storyline happens.
Feel free to be creative and customize to suit your needs - there's no wrong way to do this!
Just follow the steps below to set up the experience.
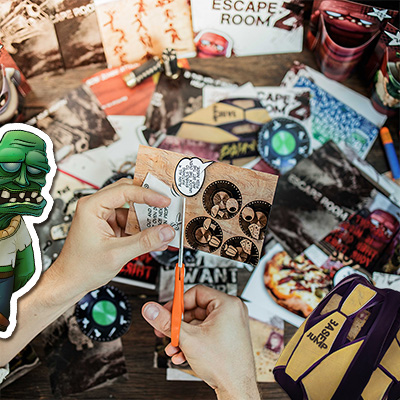
1: Place these cards anywhere
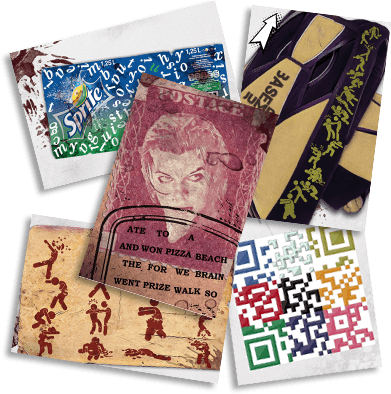
Place these 5 clue cards anywhere in the room. They’re great for hiding if that’s something your group enjoys.
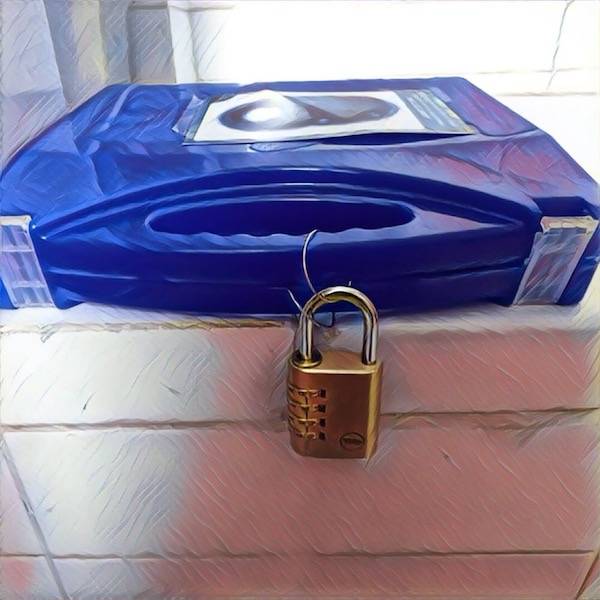
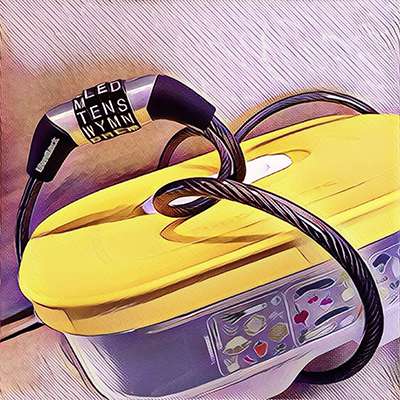
Substitute: The colored QR code takes players to a website where they’ll enter a passcode. If you’d prefer to replace this with a combination lock or a real safe, click to expand the spoiler below.
2: Stick these cards on a wall
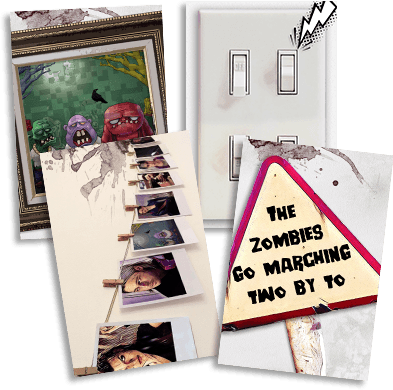
Stick these 4 cards to the walls around your escape room.
Substitute: Nothing.
Note: The props folder contains some bonus posters. If you print the zombie poster, ensure you include the zombie photo card as well since it’s required for a puzzle.
3: Stick zombies to external door:
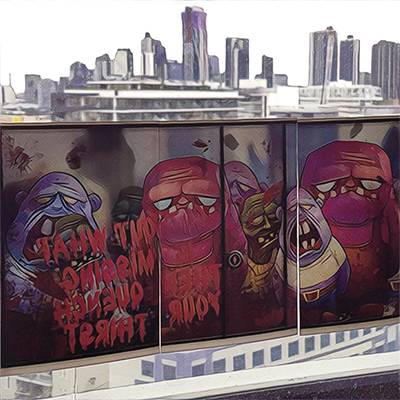
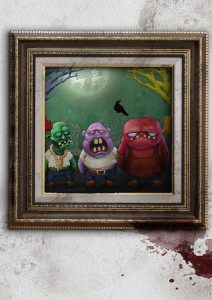
These 3 cards form a triptych when placed side by side. They simulate a hoard of zombies waiting for players on the balcony. Stick them to the glass on an external door.
Bonus: The props folder has a larger version of the message that you can cut out and place for extra style points.
4: “Lock” your oven or a box
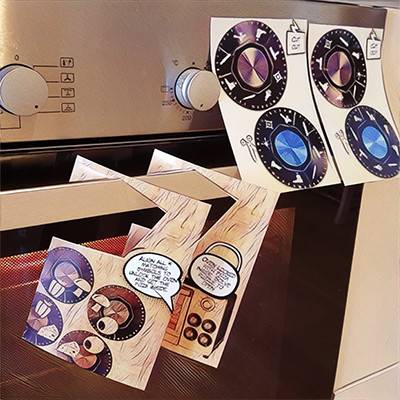
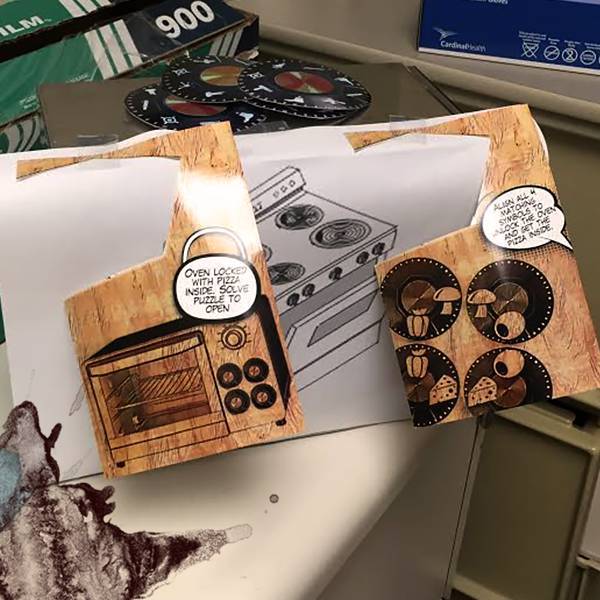
Obviously, any child safety lock your oven has isn't an escape room puzzle. So instead, we're going to rely on suspension of disbelief and attach a sign saying 'It's locked.'
Cut out the 2 hook signs and hang them on the oven door. Stick the child lock dials next to them. Make sure there are scissors nearby for players to cut out the dials. The oven is now locked and can’t be opened until players solve the puzzle!
5: Place the Pizza In your Oven
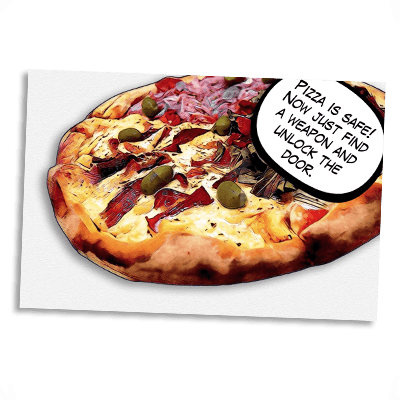
Place the pizza card inside the oven.
Substitute: A real pizza in the oven or some of these pizza keyrings so everyone goes home with a souvenir.
If you don’t have an oven, use:
- A cupboard with a door
- A box with a lid
The oven label can also double as a prop when playing as a tabletop game.
6: Get a weapon (optional):
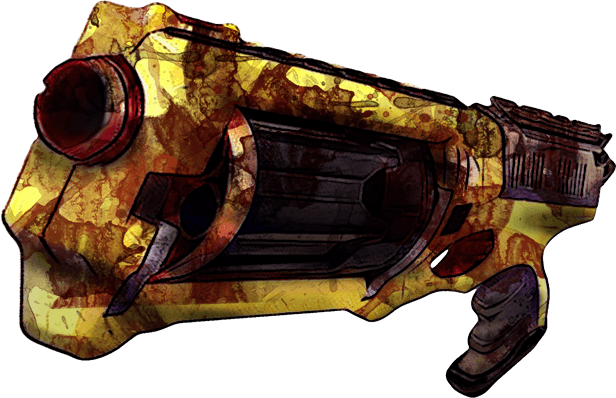
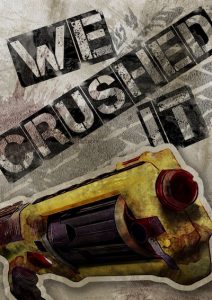
Tape this card to a NERF gun or one of the options below, then place it somewhere visible. Players will be informed when they have earned access to the gun. (Check the spoilers at the bottom if you’d like to know how, but you can trust me).
Weapon Options:
- NERF gun
- Scrunched up paper balls
- Ping pong or tennis balls
- Finger + Rubber band gun
7: Assemble zombie targets and make a firing range (Optional)
Prepare a zombie shooting mini game! This final challenge occurs after players have rescued the pizza, retrieved the gun, and unlocked the door.
Build all the zombie targets and line them up outside like a firing range. You can place them anywhere you like. (We did ours indoors because it was too windy that day).
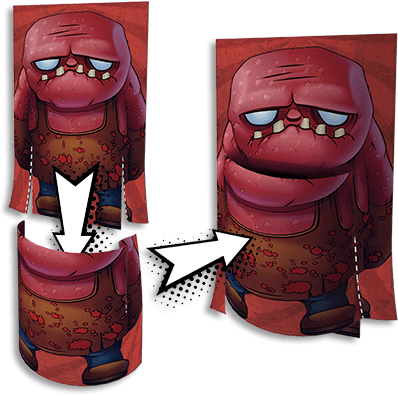
Last Stand
Corde Lane, an escape room fanatic, designed an awesome shooting game “Last Stand”. Here’s how it works:
Get The Escape Party Started:
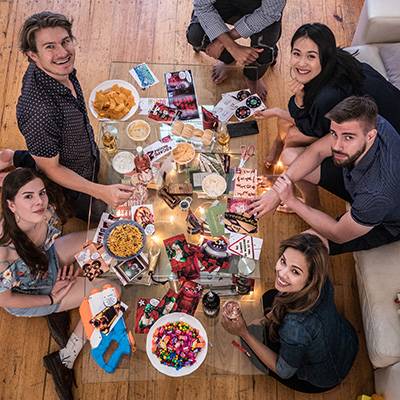
Gather your friends and let’s get this party started!
- Break out the snacks and crack open the drinks
- Lay out paper, pens, and scissors
- Start one of the Spotify playlists below
When you’re ready to begin, give everyone a quick rundown on how escape rooms work since some people will have never played one before.
Open the Survival Guide on your phone at lockpaperscissors.co/z and watch the intro video together.
The Survival Guide also contains plenty of hints for solving each puzzle. Agree on how you will use the hints as a group before the game begins. As a rule of thumb, it’s time for a hint if players are stuck on a single puzzle for more than 5 minutes.
Now it’s time to start the game!
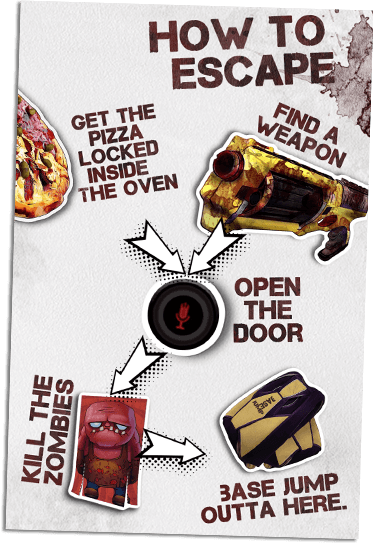
Optionally Add extra Zombie Arrgh with:
Tips For Larger Groups:
Schools, Camps, & Youth Groups
- Split the group into several teams of 4-8 people that will compete for King of the Hill.
- Each group can play simultaneously.
- Teams require 1-2 mobile phones so they can look up hints in the Survival Guide and complete some of the challenges. The Survival Guide also contains solutions so if you have super competitive teams make players come to you where you'll give them the hint but they'll receive a time penalty.
- It's a race to the finish so there's no need to set a timer unless your day requires it.
- Make a big event out of revealing the winning team since this will be a highlight of the challenge.

Corporate Team Building & Conferences
- The Escape Room Z kit will take 30-60 minutes to set up and can be printed multiple times to scale to any group size (I've had a group of 130 people at a conference run one of the party kits).When running the game:
- Set the game up by following the Setup Guide. If space is limited just place all the puzzles in the middle of each team's table rather than spreading them out.
- Set a 60-minute timer.
- As the Game Master, you'll be the one giving out hints. This is super easy as they're all in the Survival Guide. Just open it up, on your phone, and when a group asks for a hint you can read them out.
- Set a time penalty for using a hint (2 minutes for a hint or 5 minutes for a full solution). Just do a tally of these and deduct them from the final times at the end.
Theme Your Room (optional):
Escape Room Z comes bundled with optional props to make the experience super authentic. These are located in the Props folder when you downloaded the kit.
None of these are required to play the game but if you want to go the extra mile it's totally worth it!
