Escape Room Kit Setup Guide
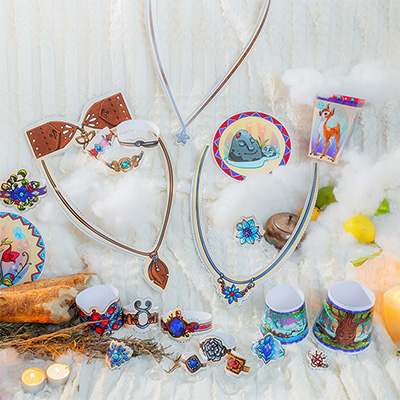
Your Journey Begins Here
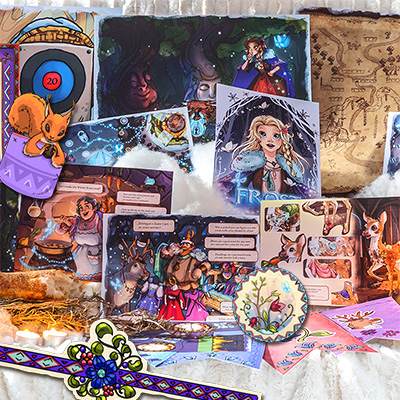
You're going to prepare a magical quest of epic proportions for your kids. They'll love it!
But don't worry, we'll guide you through every step of the process. You don't even have to know the answers to the puzzles, so you can join in the fun yourself!
Your main job will be to:
- Print the game
- Set up the puzzle sheets
- Theme the room (optional)
- Read the players the introduction.
- Enforce the 60-min time limit (or not, your choice!).
- Announce a winner!
Follow These Steps to Set Up the Game:
Step 1: Download and Print the Game
First, you will need to download the Frost.zip game file from your account, or from the download link we've emailed you.
After that, simply open and print the Frost.pdf file. You can choose to print it at home or take it to a professional printing service.
You should print the game on either US Letter-Size, or A4 paper.
While the game works just fine on standard paper, printing on thicker card (preferably 200gsm Satin paper) gives it a more satisfying, ice-magic feel.
How many copies do I print?
This adventure is designed to be played in teams of 4-5 players. This means that you can expand for a larger group just by printing out multiple copies of the game, and have them race each other for the finish! For example, for:
- 2-4 players = print one copy of the game.
- 6-10 players = print twice.
- 11-15 players = print 3 times.
- 16+ = simply divide the number of players you have by 4 (or 5) using the calculator on your phone.
OPTIONAL: Printing The Bonus Gear
Frost comes bundled with a lot of cool extra stuff you can use to really add an extra level of enchantment to your adventure.
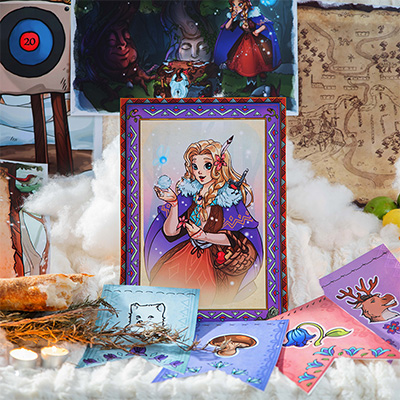
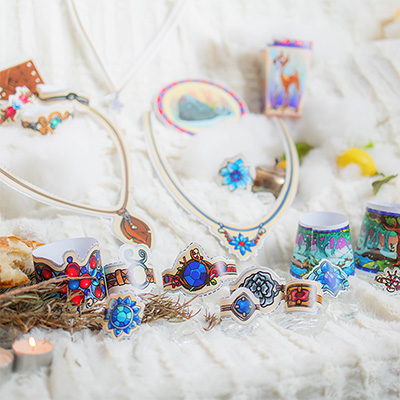
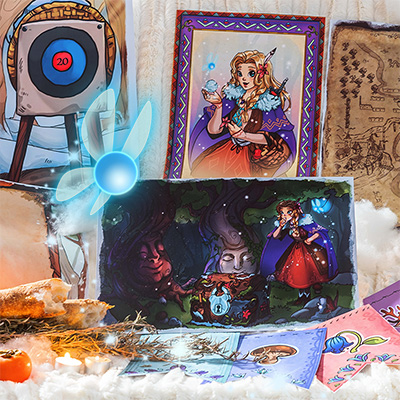
Posters, props, decorations, popcorn cups, and a Facebook event cover for sharing over social can all be found in the 'Props' folder in your game download.
Of course, these are optional extras, but going the extra mile does wonders for creating a truly immersive experience!
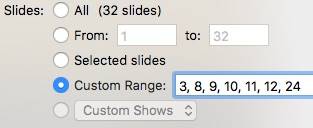
Posters
Open the Posters pdf, found in the Posters folder. You can separate what posters you want to print by typing in the page numbers you want to print, like so:
Alternatively, you can open the 'Editable Posters' PowerPoint file to create your own, customized versions of these posters. Just make sure you export as pdf before you print for the best results (video tutorial here).
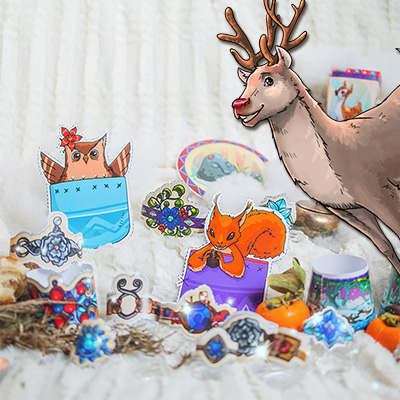
Wearable Photobooth Props and Extra Decorations
Dressing up with our photobooth props is the quickest way to become a brave princess or dashing adventurer. While the printable decorations included in the game kit make theming your room quick and easy.
You can find them by clicking into the 'Props' folder, and then opening the 'Photo Booth Props' folder. The file is called Photo Booth Props.pdf.
You can print the props on standard paper just fine, but like the game, they look best on 200gsm Satin paper.
Facebook Cover & Event Description
We've bundled a themed Facebook event cover in there for you so you can share you magical escape room experience with everyone who is coming (who uses physical invitations nowadays anyways?).
If you don't want to go to the bother of writing your own, just copy-paste the event description below and edit the details:
Crank Up Some Enchanted Frost Background Music
Nothing adds magic like a good ol' fashioned live band of horn blowers, drummers, yodelers and dancers so ask around at the local village who can fill in for the day...
...Or...
Mash the play button on this super enchanted background music playlist on Spotify.
P.s. we know you've heard every Frozen song a million times so we've kept these to a minimum and used the instrumental version. Yes, you can totally thank us now with a review on facebook 🙂
Step 2: Gather Supplies
Your players will need:

Pens
Each player will need a pen to write with (have spares on standby... pens get lost...).
If you've decided to print on satin or gloss paper, you'll likely need felt-tip pens or permanent markers instead.

Tape
Clear sticky-tape will be useful for a couple of the puzzles. However, you don't need to give each person a supply. Just one or two rolls in a central location will suffice.
Scissors
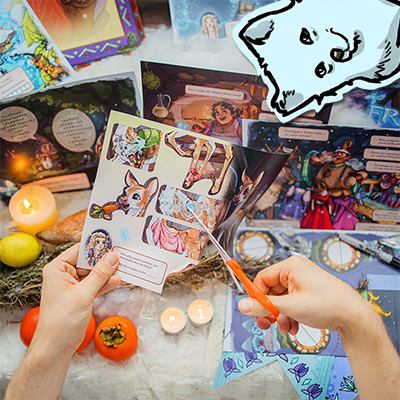
A number of the puzzles need to be cut out. So each team will need at least one pair of scissors. For younger players, you may want to consider cutting out the puzzles beforehand.
Step 3: Place the Escape Puzzles Around Your Room
Setting up the game is super easy. It can be as simple as just handing your players the game sheets, or as convoluted as transforming a room into a real-life escape room.
Regardless of what approach you take, your setup must achieve three things:
- Deliver the game sheets to your players
- Give your players access to the hints page (for when they're stuck).
- Provide a 'shooting range' for the final snowball showdown.
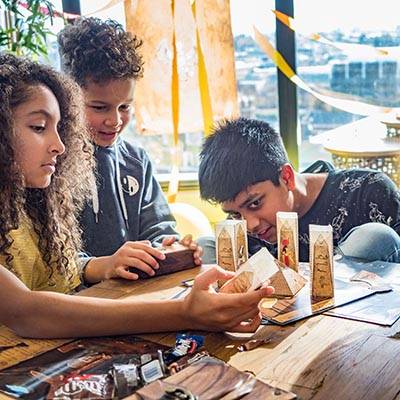
Check out this epic birthday party for a perfect example of how you can set up the kit as an exciting escape room adventure!
1. Give each team a room-sized area. You could place each team in a separate room, or just divide them with 'unbreakable pixie string'.
2. Place the final puzzle in a central location in each room (so they know how many puzzles they're looking for).
While you're there, make sure to theme up the room with a few decorations!
3. Add theatrics! Hide the rest of the puzzles around the room.
Alternatively, place them in areas that 'make sense'. Such as taping the 'gate' puzzle to a door, or the 'cauldron' puzzle to a kitchen pot.
Wait, Where Can I Find the Answers?
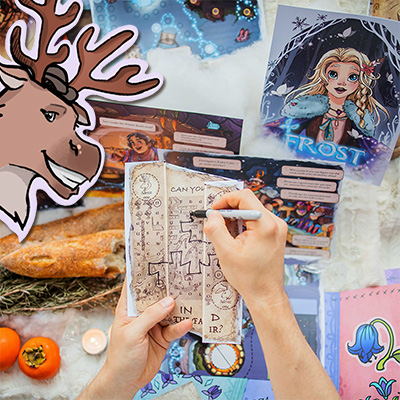
No worries, all of the answers to every puzzle can be found on the hints page.
Your players can access this page during the game for hints and solutions (don't worry, it'll be obvious whether or not you've got the right answer, so you won't need to open the 'solution' to double-check your answer).
OPTIONAL STEP: Customize Your Adventure
(Optional)
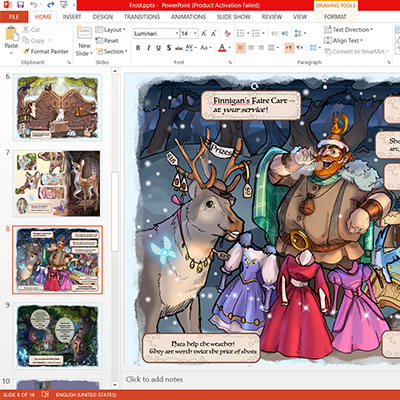
Frost is designed to be totally thrilling without you needing to touch a thing.
However, for restless tinkerers out there, you can very easily edit the game to be exactly what you need it to be using the Designer's Kit.
Our entire game is built using PowerPoint. That's right, the Designer's Kit is a PowerPoint file. So if you're comfortable handling a Word document, you have all the skills you need to become an epic escape room designer!
Just click on the Designer's Kit folder, inside the game download, then open the Designers Kit.pptx file. For a full guide check out the Mod's page.
How to edit the game:
- Open the Designers Kit PowerPoint.
- Customize whatever you want using the included artwork or your own. Some great customization ideas include:
- Referring to the birthday child by name.
- Add the school, or holiday camp, name.
- Create puzzles around 'in' jokes or learning outcomes.
- Mix and match elements or combine with real-world props, such as padlocks. For example, 2 of the 3 challenges result in a 4 digit code so you can quickly add a combination lock.
OPTIONAL Step: Add Extra Magic With These Extras
Extend The Printouts
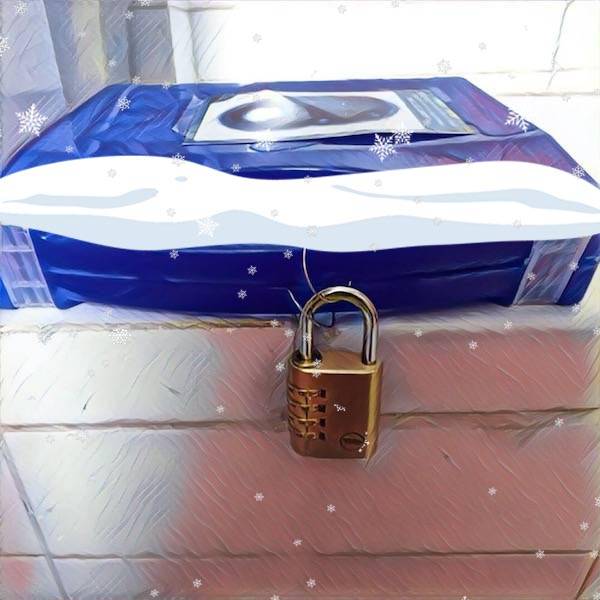
Some of the puzzle answers work great with a combination padlock or bike chain. E.g. one of the puzzles has the answer WOLF. Just confirm the letter based padlock you get can fit or change the puzzle answer using the Designers' Kit.
You can stick this puzzle on a box with a reward or another puzzle inside.

Posters and Invites
Print as many, or as few of these as you like:
- Scene Posters: great for setting the mood in each room
- Victory posters: for group selfies
- Invites: print or share these directly on Facebook
If you'd like to get inspired check out how this mum transformed their entire house for their kids escape room birthday.
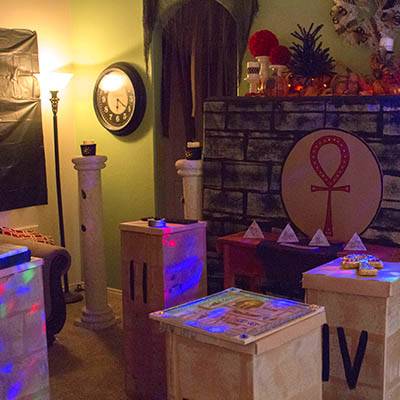
Get Additional Props
- Stick the puzzle sheets in piles of fake snow.
- Add Christmas decorations, trees, and turn the AC waaaay down.
- Get small dollar-store fairy toys, so each child goes home with a memorable gift.
- Grab some Frozen, fairy, princess, or 'adventure' wall stickers or other themed props.
Step 4: Begin the Game
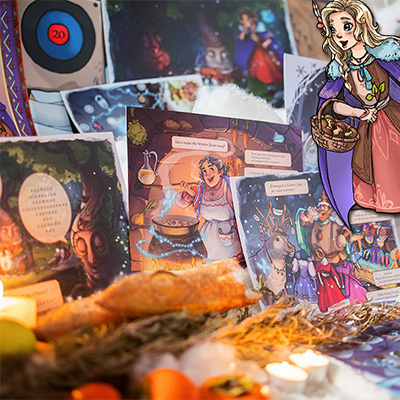
It'll be up to you to 'read them in' to their adventure, so follow this basic script when the kids are ready to start:
- Explain how escape rooms work. This is a new experience for most kids, and they will work better if they feel like they know what's going on. A good hook is asking if anyone's played a digital escape room game.
- Read out the story intro in your most magical narrator voice. It's also at the top of the hints page, so you can have it ready on your phone.
- Let each team choose a team name.
- Players will enter their answers into the Solutions Card. Each answer will fit exactly into one of the boxes provided to help your crew know when they've got it correct. The answers will have many 'aha' moments because it's very obvious once a puzzle is done. For example, when random letters magically spell Pharoh they'll know they've crushed it.
- (Optional) Teams can race with the winning team finishing first, or play this 60-minute timer video on your phone.
- (Optional) If they can't complete the game in time they'll need to drink a gross 'witches brew' in order to buy themselves more time before the memory disappears forever. Then give them a hint to get through. You can make 'witches brew' by blending M&M's, milk & ketchup into a smoothie. It looks gross but tastes ok and kids love this stuff.
- They will need pens, scissors, glue/tape, and spare paper.
- Get everyone hyped up and begin the game!
Open the hints page on your phone so you can give your crew the answers, and don't' forget to tap play the Theme Background Music.
How to run the escape game in a classroom or large group:
The best way to run Frost for a classroom, or large party, is a simultaneous race to finish first.
Just print out a copy of the game for every 4-6 players then follow these steps:
- Split the larger group into several teams of 4-6 kids that will race to finish first.
- Each group can play simultaneously.
- Hand out just the first challenge to each team, and get them to come to you with their answers. When they get it correct pass them the next challenge. This helps keep things in order and prevents confusion.
- Make a big event out of revealing the winning team since this will be a highlight of the challenge.

1. Larger groups will need to be squeezed in a bit tighter. Give each team their own space (say, a kitchen table, two tables in a classroom, or the floor behind your couch).

2. Lay out the puzzle cards in a pile (or maybe a fun pattern, like a snowflake!). Place the pens, scissors and tape within easy reach.

3. Make sure the players have access to the hints page on their phone (or require them to come to you for a hint)
