Setup Guide
It started when you woke up somewhere completely unexpected. Now you’re off on a madcap, time-traveling adventure! Find items and solve puzzles in each era to fix the T.I.M.E. Machine and return home.
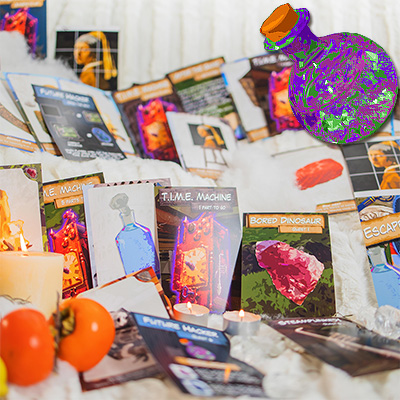
You're the host.
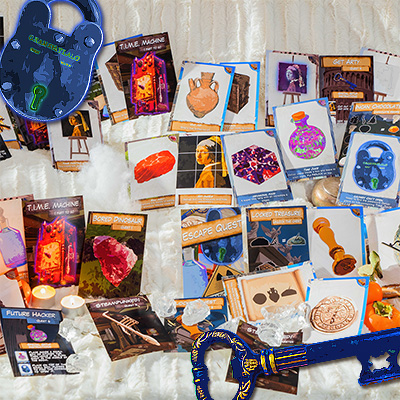
As the host of this event, you will prepare everything in advance so that your house is ready for a time-travelling adventure.
Keep scrolling down this page for all the setup instructions. Once the game is ready, you or another adult will guide the kids through the game by following the simple Quest Guide.
Summary of Game Setup
This setup guide will take you through:
- Customize your game (optional).
- Print the DIY Escape Kit.
- Prep the clue cards.
- Get the escape party started by opening the Quest Guide.
Customize The Escape Game
(Optional)
Need inspiration? Check out how this teacher modified the Lost Mummy and created a thrilling new escape room game!
If you plan to play the base game without customization, continue to Print the DIY Escape Kit.
However, if you enjoy creating custom puzzles, you can easily edit the game using the Designer’s Kit included in the download. It contains the editable PowerPoint file and all creative assets.
- Open the PowerPoint.
- Customize whatever you want using the included artwork or your own.
- Mix and match elements or combine with real world props, such as padlocks.
- Export the PowerPoint slides as photos ready for printing. The template ensures they’ll be perfectly sized and look great!
How to print the DIY escape kit.
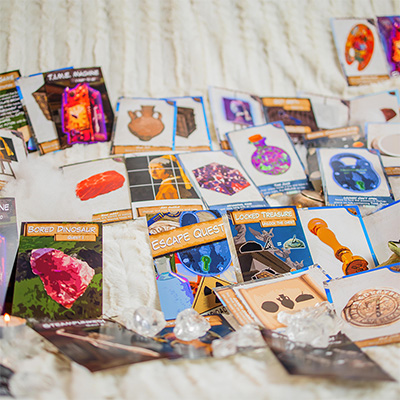
In the game download, choose your print option:
Print as 4x6 Photos:
Print the photos at any office store or online via (Amazon Photo Print). To keep the gritty look and feel, choose matte/satin rather than gloss.
Or, Print at Home:
Open the PDF file Print at Home Version.pdf and print the escape kit on standard A4 paper.
The game is designed for a team of 3-8 players. So, if you have a larger group, just print the kit out several times and run it as a race.
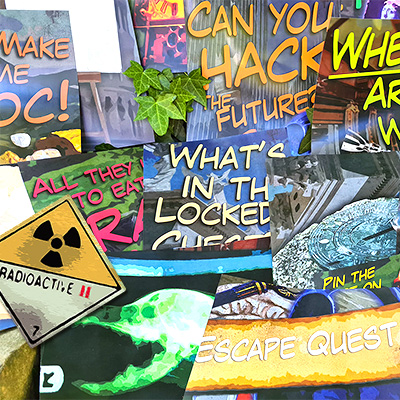
Optional Posters and Party Invites
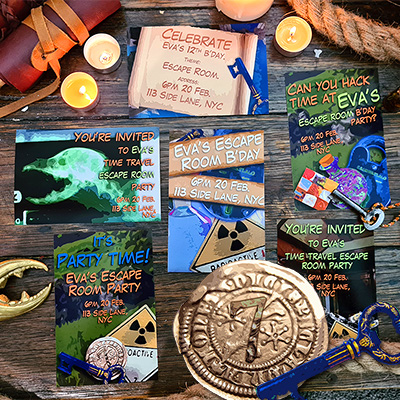
Escape Quest also includes optional posters, and party invites, to make the experience even more immersive. None of these are required to play the game, but if you want to go the extra mile, it’s totally worth it!
These can be found in the download and can be printed in several ways:
- Invitations: print as 4x6 photos (normal photos).
- Posters: Ledger/A3 or Legal/A4
Prep The Clue Cards
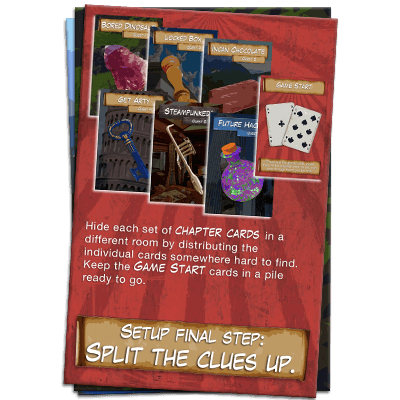
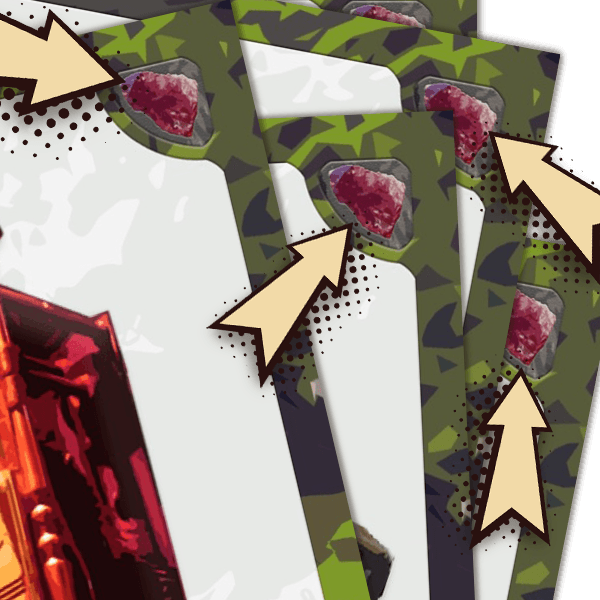
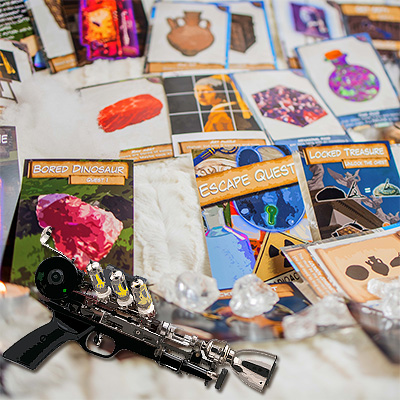
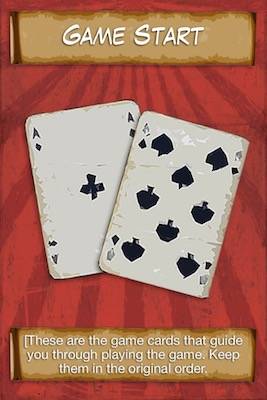
Separate the cards for each quest into separate piles. They're in the correct order, so this should be a simple matter of flipping through the pile until you find the divider cards in the image above.
In the end, you should have 6 piles of quest cards, along with a 7th stack which you will carry with you as you take the kids through the game.
Set up the game in 6 different locations around your home/school. Be creative and match the setting to the quest. For example, the Bored Dinosaur quest works great outside. Follow the steps below for any particular setup steps for each quest.
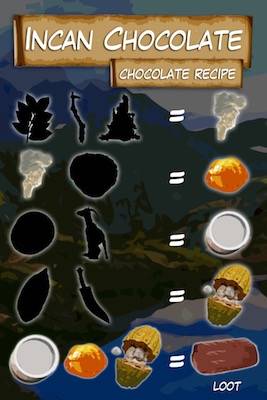
Bored Dinosaur & Incan Chocolate.
No special setup instructions here. Just hide the cards around 2 different locations with varying difficulty.
There are no puzzles in these quests, so the kids have a chance to get used to how the game basics work.
The title cards for each quest don’t need to be hidden but can be taped to the door or wall, so you don’t forget which room belongs to which quest!
Note: You can adjust the difficulty of the hiding spots for a variety of ages by choosing higher or harder-to-find locations for older children.
3: Locked Chest.
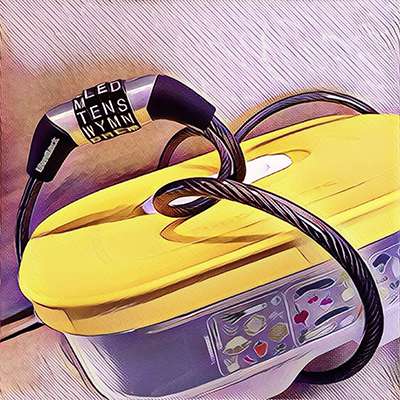
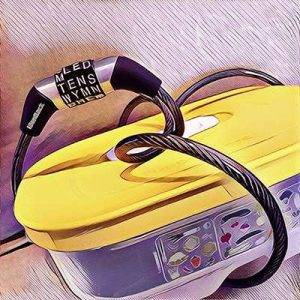
This quest has an optional mod where you can replace the locked chest card with a 3 digit combination lock. A bike chain around a kitchen tub or shoebox works great. If you do this the combination is 752.
4: Get Arty
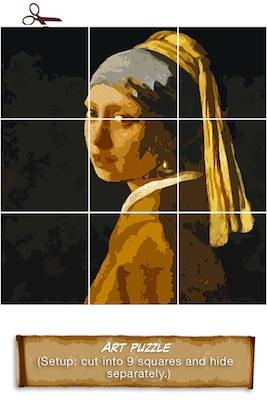
Cut this painting card into 9 squares and hide each separately in the room. The kids will find these and put it together.
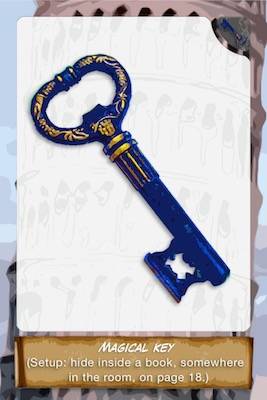
Also, hide the key card inside a book on page 18, and place the book in plain sight. The 2 playing cards hint at how to find this.
5: Steampunked!
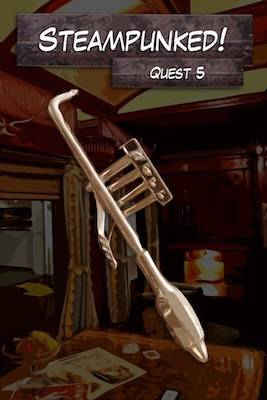
No special setup instructions here. Just hide the cards around the location with varying difficulty.
6: Future Hacker
Time Juice: Place the Time Juice card inside a small box, then leave it in plain sight in the middle of the room.
Padlock: Place the padlock card on top of the box containing the Time Juice. Players need to find the combination before they can open it.
Optional: replace the Padlock card with a combination lock, or bike chain, and set the code to: 1436.
Remaining cards
You'll carry the remaining cards with you as you take the kids through the game. Give them the reward cards as they find objects, solve puzzles, and progress through the quests.
For now, just keep all cards under the Game Start card in the order they come in.
How to solve puzzles.
Initially, the only challenge is for the kids to scavenge for puzzle cards and get used to how the game works.
Although this seems too easy, it's a very deliberate part of the Escape Quest's design and allows younger players to jump right in and enjoy themselves without getting stuck.
New puzzle types are added as you progress through the story.You'll need to guide them through each chapter, give hints, and let them know when they've solved a problem.
As the team leader, you'll guide them through these various challenges, provide hints, and let them know when they've solved a problem.
When the game starts, follow the Quest Guide on your phone. Don't worry too much about this right now, as it's all very simple to follow.
Get The Escape Party Started:

When everyone is gathered, it’s time to get this party started!
Start the custom Spotify playlist by lockpaperscissors.co/quest-music on another device. There are 3 songs for each quest. If players need more time on a quest, go back and replay the songs. If players finish a quest before the songs are complete, skip forward to the next set of songs.
Optionally, play this 60-minute timer video on your phone.
When you’re ready to begin, open the Quest Guide on your phone and prepare to lead your group through the perilous quests!
Now it’s time to start the game!
Tips For Larger Groups:
Schools, Camps, & Youth Groups
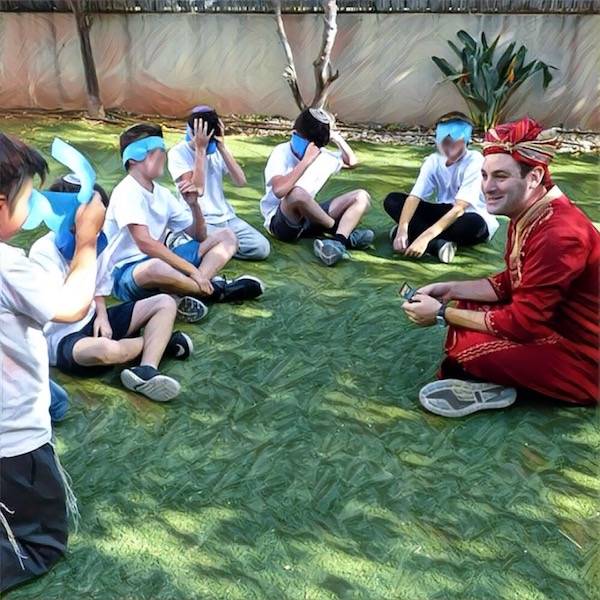
- Split the group into several teams of 6-8 people that will race to finish first.
- Each group can play simultaneously.
- Teams require 1 adult leader to guide them through using the Quest Guide on their phone. This provides all solutions and hints.
- It's a race to the finish so there's no need to set a timer unless your day requires it.
- Make a big event out of revealing the winning team since this will be a highlight of the challenge.
